According to our customers, one of the main worries when it comes to leasing a van is what happens at the end of your lease. Are there additional charges? What are the rules if your van is damaged? That's where fair wear & tear comes in - it dictates what you do and don't need to worry about when handing back your van.
What Is Van Fair Wear & Tear?
Usually a lease lasts for between 2 and 5 years, meaning you'll be driving the van for quite some time. Therefore your vehicle might not be in the same condition at the end of your lease as it was at the start.
It's reasonable to expect that normal day-to-day use of your van will cause it to deteriorate. Fair wear & tear takes this deterioration into account and allows for a certain level when you hand your van back.
Fair wear and tear is usually determined as reasonable use over time but be warned, it won't account for any specific damage caused by an event, impact or neglect.
Who Will Be Assessing Your Van?
When you lease a van it will be the lease company who actually owns the vehicle. There will be a set of unbiased and objective checks as part of the return assessment, which your lease company will carry out at the end of your agreement. They will likely have their own teams or use an independent inspection service to carry this out.
How To Do Your Own Wear & Tear Assessment
There are a few tips for objectively assessing your van before you hand it back to ensure you pass the Fair Wear & Tear Assessment:
- Inspect Your Vehicle In Daylight Firstly, check for dents, scratches and chips. You'll want to check this in daylight, so park somewhere with good natural light avoiding any shadow that could conceal any damage you need to be aware of.
- Inspect Your Vehicle When It's Dry When you're checking for damage, ensure your van is dry. If it's been raining or you've just washed it, it can be much harder to spot any dents or scratches.
- Clean Your Van Inside And Out Damage is much harder to spot on a dirty van, which means the lease company may actually abort collection if it's not cleaned inside and out. This means you'll have to reschedule your collection and you'll also be charged! Best to just have a spring clean before handing your van back!
- Inspect All Panels Remember it's not just the side panels the lease company will inspect. Make sure you're checking all the panels on the car including the roof and below the bumper. You're more likely to spot dents if you look down a vehicle panel side on, rather than head on. Also make sure you check the mirrors, windows and lights. It might also be worth asking a friend for help with an objective view.
What About Van Signage Or Decals?
You will need to make sure all stickers and van signage is completely removed before you hand back your vehicle. This includes removing the glue and any residue that may have been left behind. If the lease company has to remove these, you may be charged.
How To Rectify Any Damage On Your Van
If you do spot some damage before your wear and tear check that you believe means your van won't pass the assessment, you might want to get this repaired yourself to avoid a damage charge from the lease company. This is a good idea as long as the work is being carried out by a reputable garage and the repair meets the standards set out by the BVRLA. If the work is substandard and ends up affecting the value of your van, you could be charged. It is recommended that any repair work is carried out at least 10 weeks before you're due to had back your vehicle.
What's The Standard Expected For Returned Vehicles?
Sometimes it's difficult to know what is and is not acceptable fair wear and tear when handing back your van, so we've made it a little easier:
Loading Area
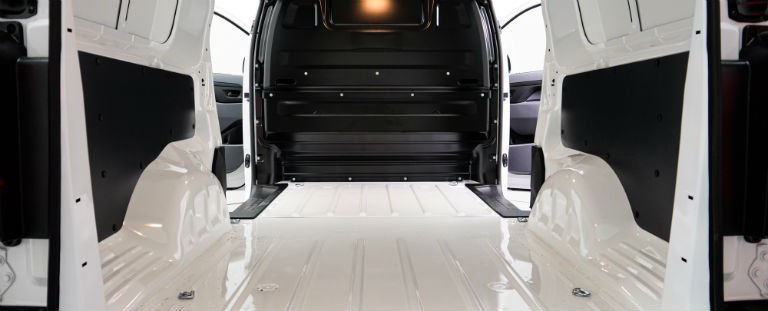
Acceptable | Unacceptable |
|
|
|
|
|
|
|
|
|
|
|
|
| |
|
Vehicle Body & Paint
Acceptable | Unacceptable |
|
|
|
|
| |
|
Grille & Bumpers
Acceptable | Unacceptable |
|
|
| |
| |
|
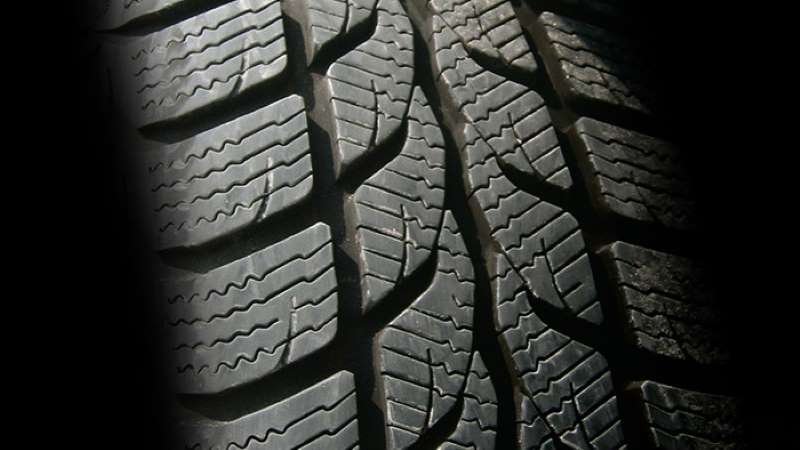
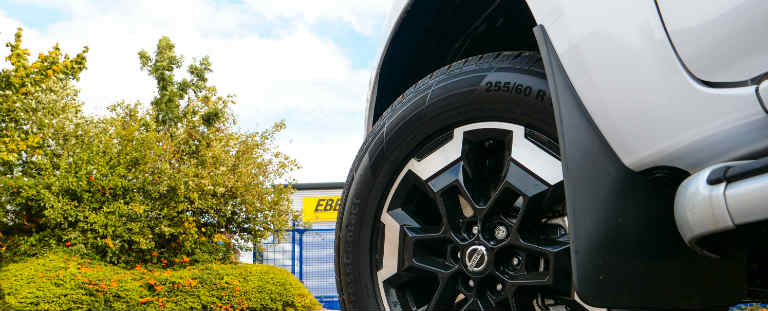
Tyres & Wheelrims
Glazing & Lights

Acceptable | Unacceptable |
|
|
|
|
|
|
|
|
| |
| |
| |
|
Acceptable | Unacceptable |
|
|
|
|
|
|
| |
|
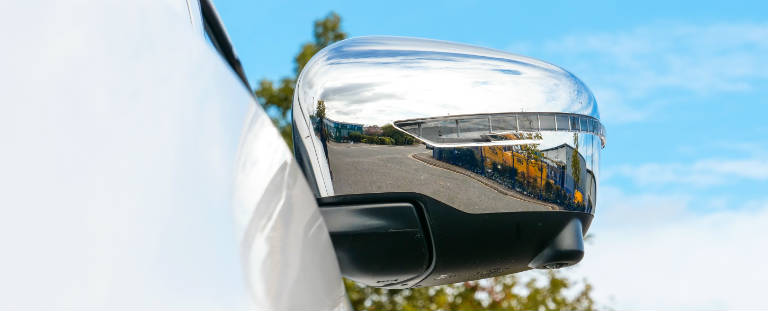
Mirrors & External Fittings
Acceptable | Unacceptable |
|
|
|
|
|
|
|
|
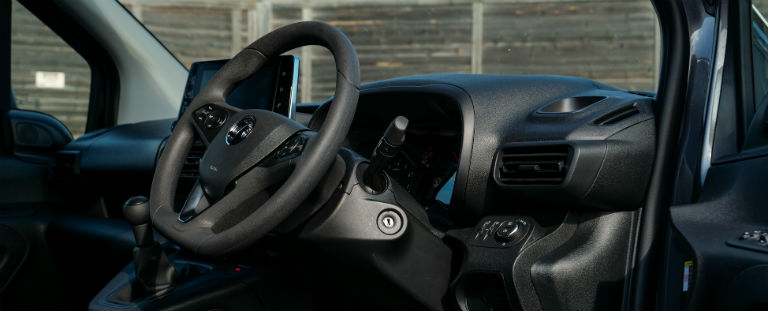
Internal Conditions
Acceptable | Unacceptable |
|
|
|
|
|
|
|
|
|
|
|
|
|
|
|
What Do I Need to Return With The Van?
The van should be returned with everything that was included when it was delivered to you at the beginning of your lease. Also please make sure you remove all personal items from the van (including keys from the keyring).
Returned items should include the following where applicable:
- All keys for the van
- Original documents such as the owner's manual
- Signed/stamped service history
- Valid MOT certificate (if applicable)
- Radio code cards
- CDs or DVDs for satellite navigation (delete stored locations).
- All removable audio equipment (such as 'face off' units).
- All optional equipment fitted to the vehicle that is not a permanent fixture (tow bars, rear door sun shades etc).
- All emergency equipment supplied with the vehicle (jack, wheel brace, warning triangle, first aid kit etc).
- Any spare wheels
What Happens When My Lease Van Is Collected?
On your collection day you should be ready with your shiny, just cleaned van.
The agent collection the vehicle will then start their assessment. Please note this is not the full wear and tear inspection but will include:
- A walk round your van to look for any obvious damage.
- A check for all your documentation (service book, V5, owner's manual etc).
- Using an electronic device to complete the collection assessment & take photos of the van.
You will be asked to sign the assessment document (which will highlight any visible damage) and approve collection of the van.
The collecting agent will take your van away for an independent fair wear and tear assessment and following this you will be notified of any damage that falls outside fair wear and tear. You will be charged for repair of this damage.
Just remember, if you've thoroughly read this guide, you shouldn't have that problem!
Download our handy Vanarama Fair Wear & Tear PDF Guide
Head back to our van leasing explained hub or take a look at our latest van leasing deals